1. Creating a User Administrator
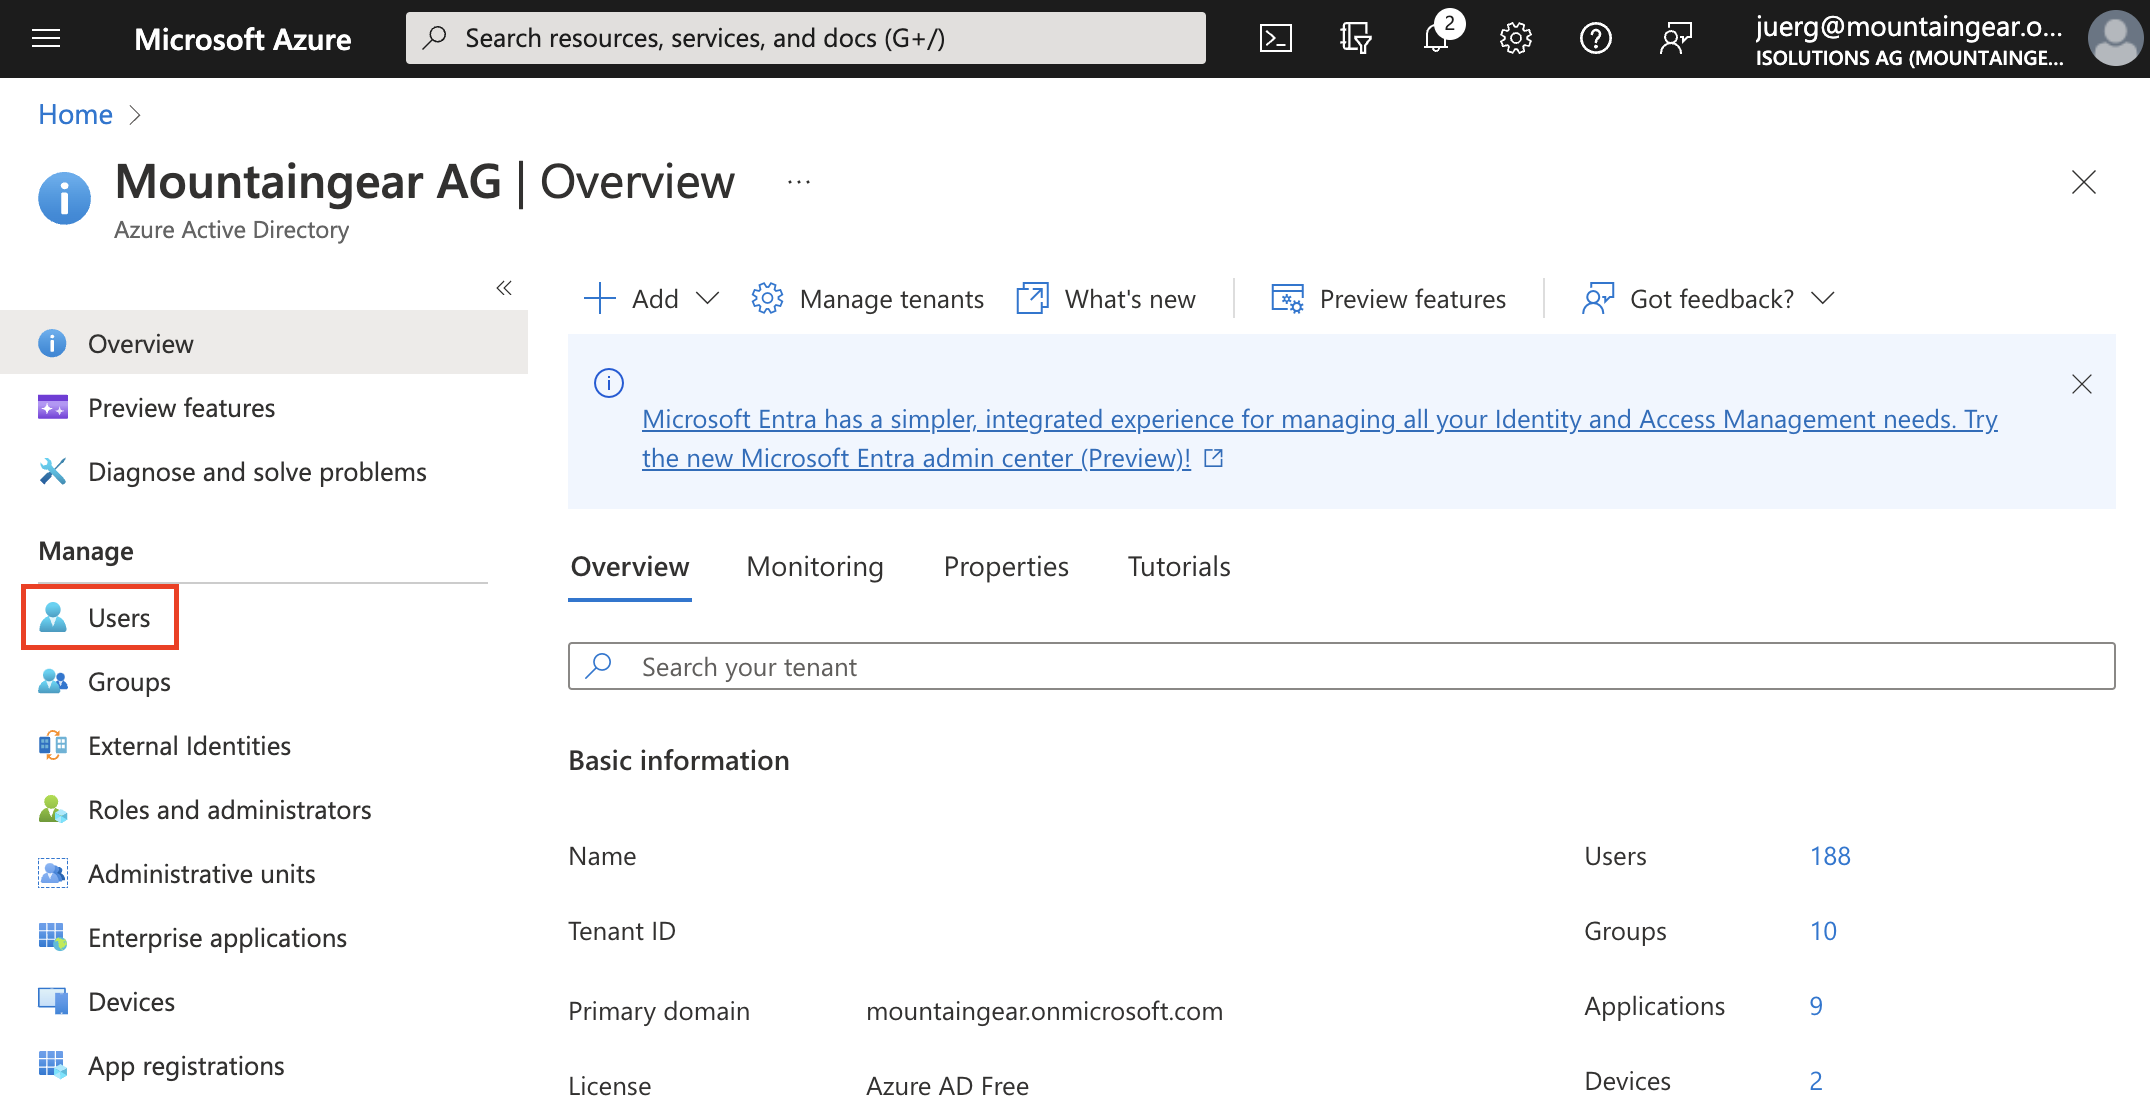
- You can create new users by accessing portal.azure.com
- Navigate to "Users"
- Click on "+ New User" and choose "Create new user"
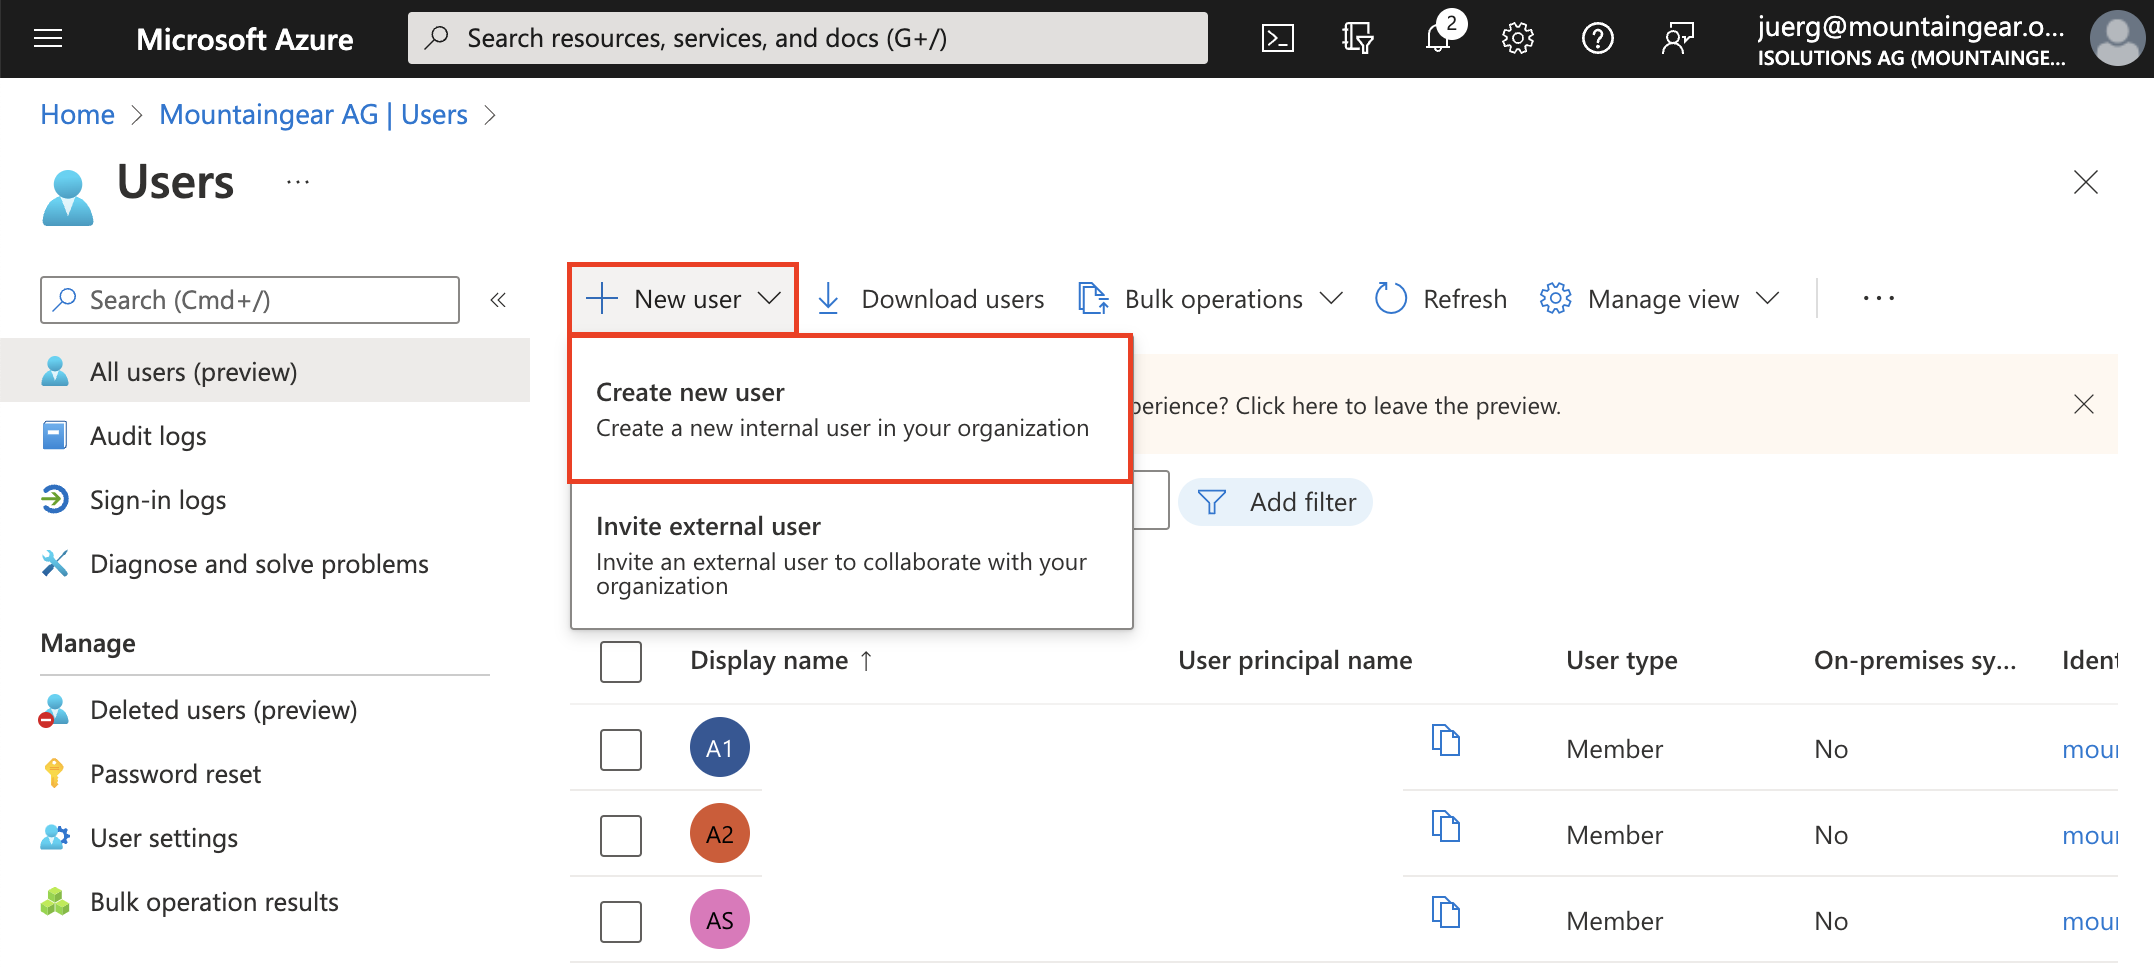
Note: You need specific privileges to create new users in Azure Active Directory. If you cannot click on the mentioned buttons (e.g. if they are greyed out) it most likely means that you don't have enough permissions to do so. Please contact your IT administrator to help you out.
- Add the necessary information
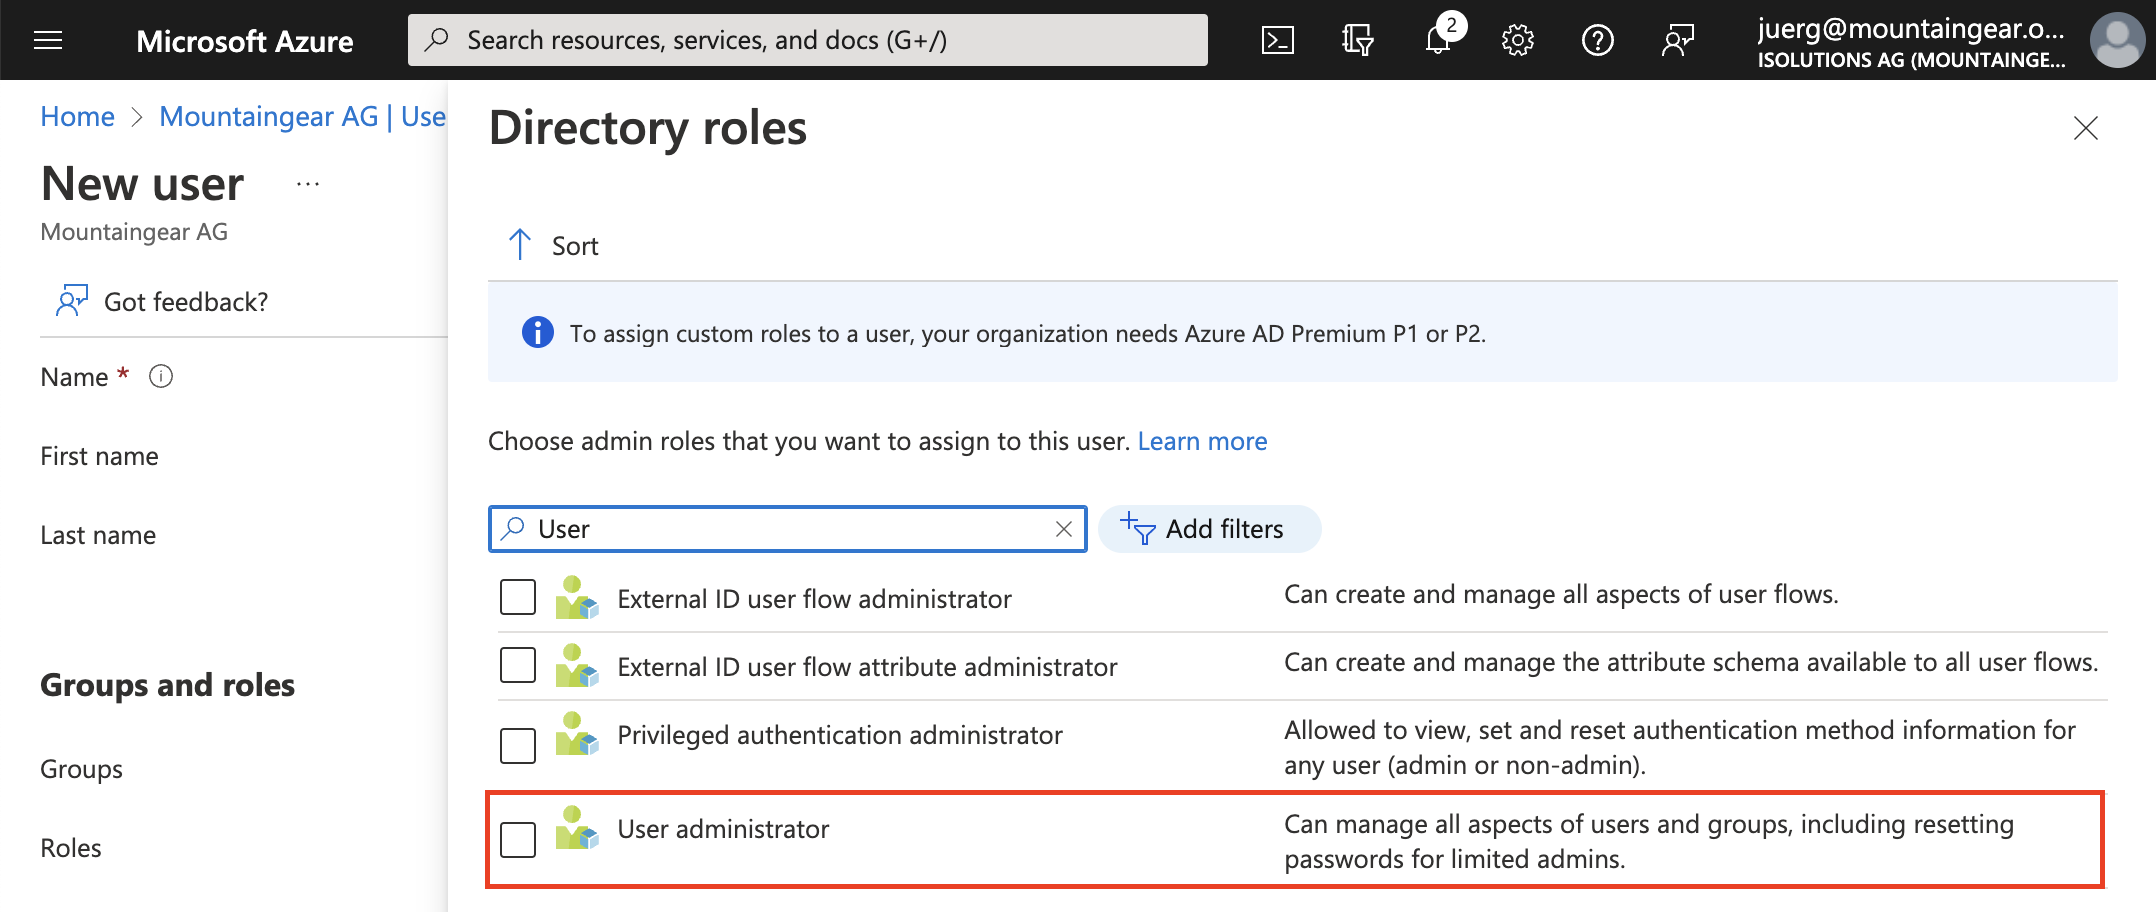
- Click on "User" in the "Groups and Roles" area.
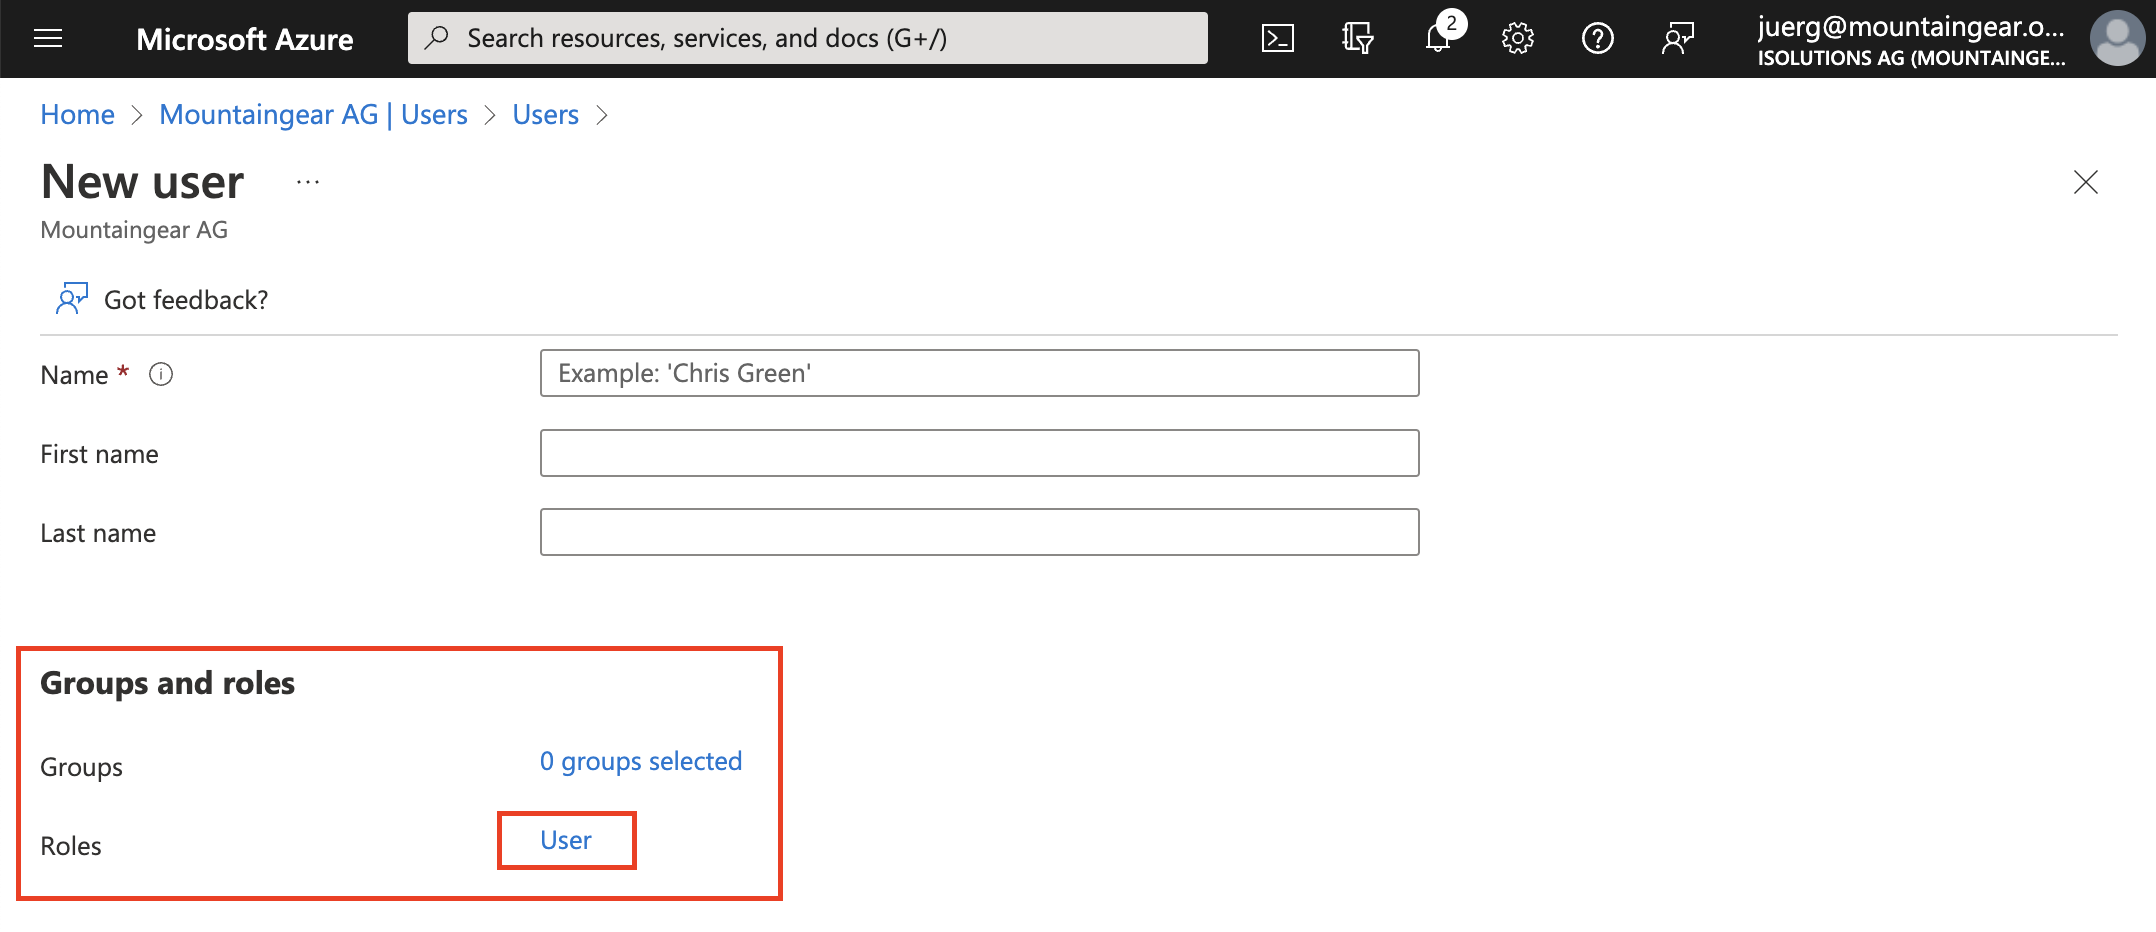
- Select the "User Administrator" role.
HR can now log in with this login and create users themselves.
2. Creating Users
- Log in with the new user at admin.microsoft.com
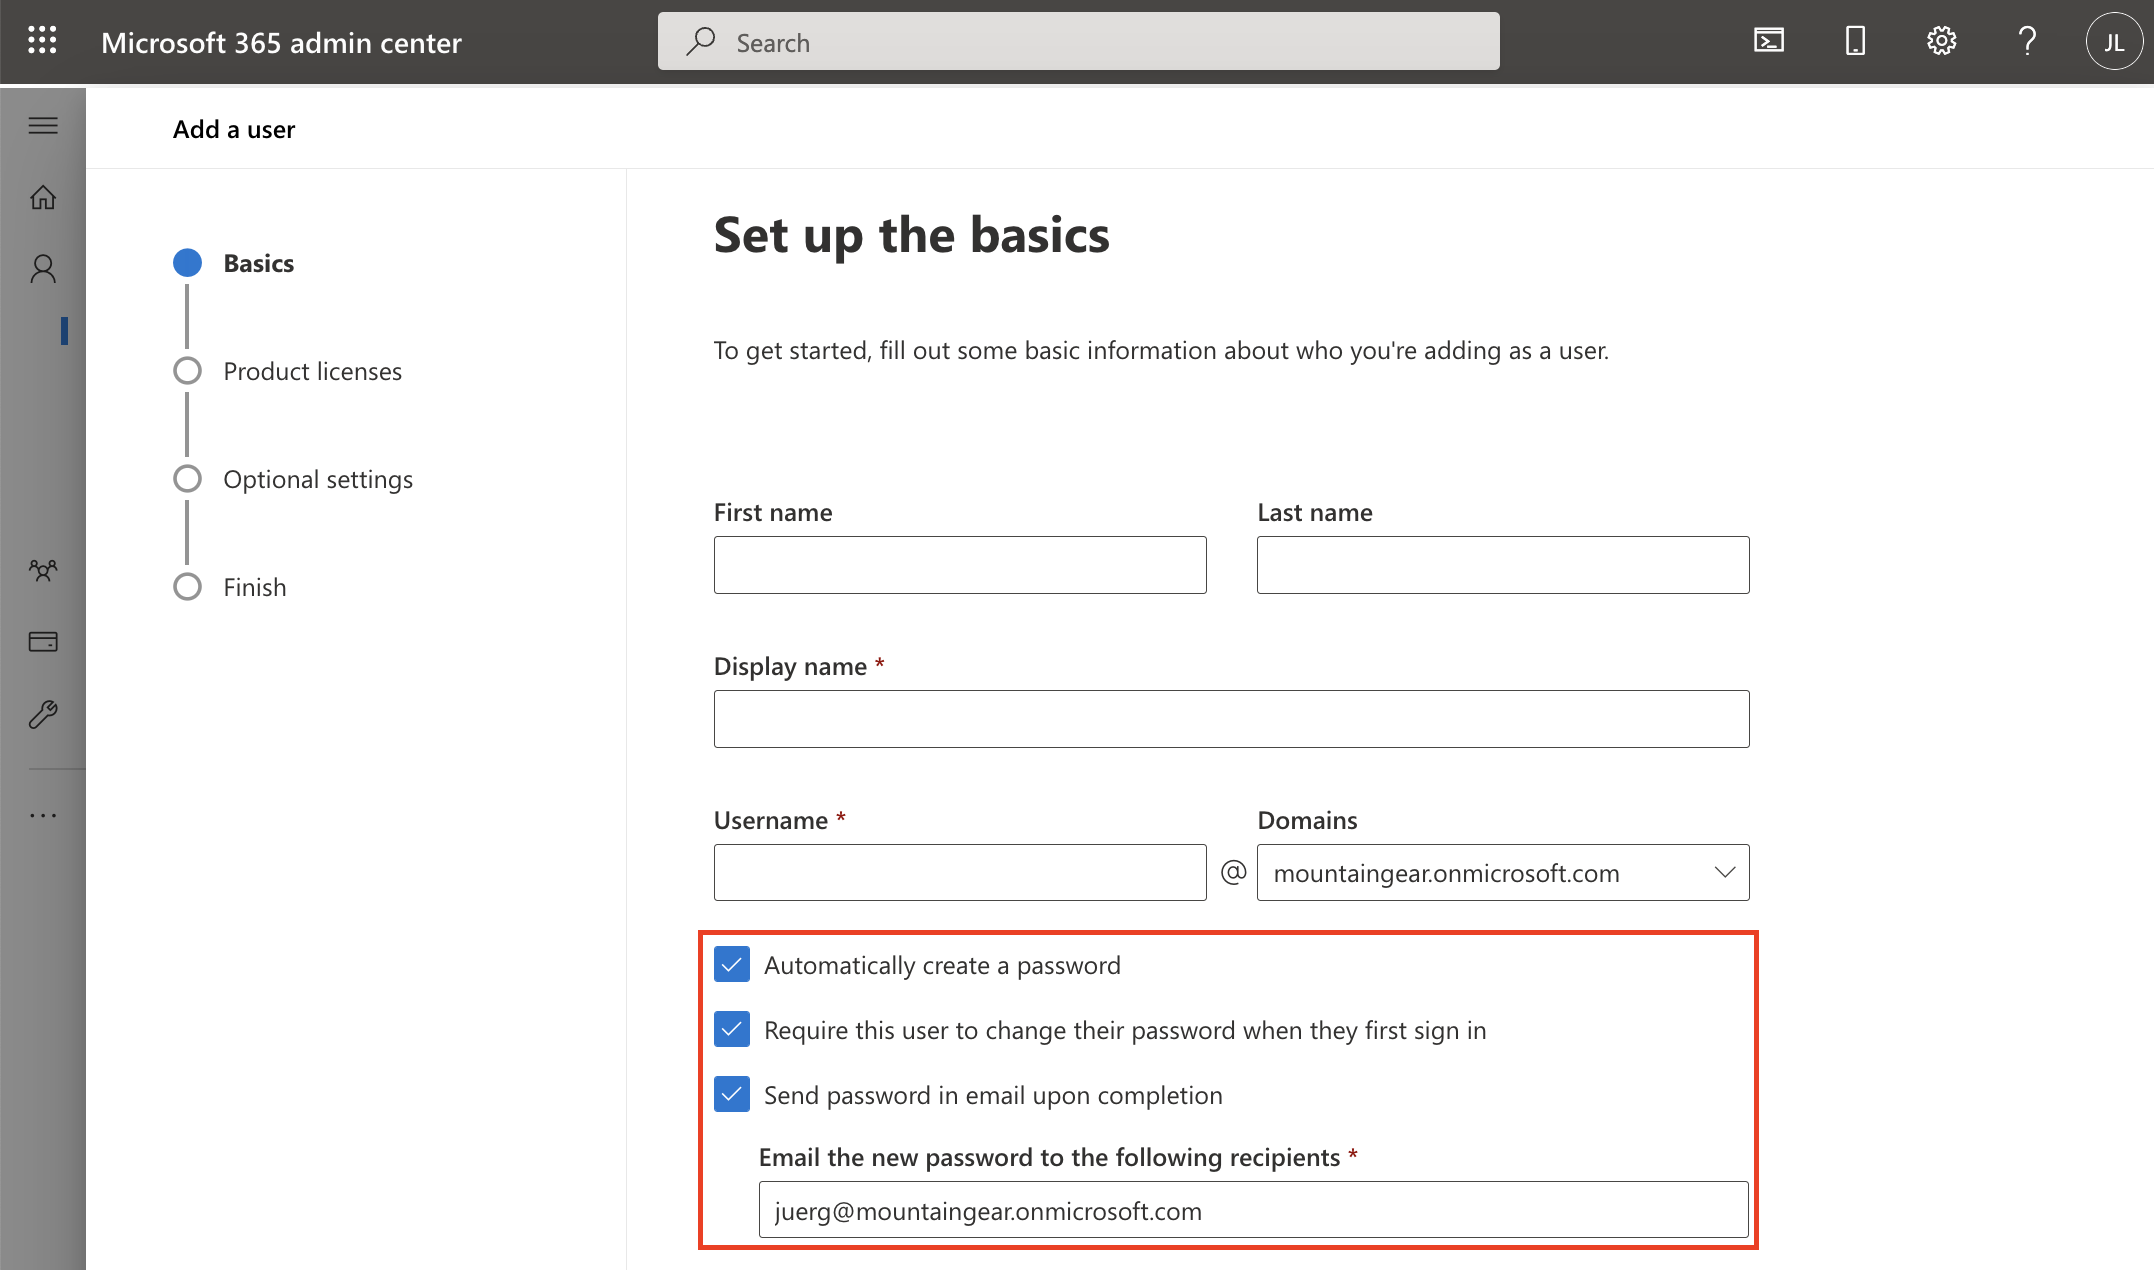
- Click on "Users" -> "Active users" -> "Add a user"

- For the new user to receive his password and login name, you can send it to a private e-mail address. We recommend to also check: "Automatically create a password" and "Require this user to change their password when they first sign in"
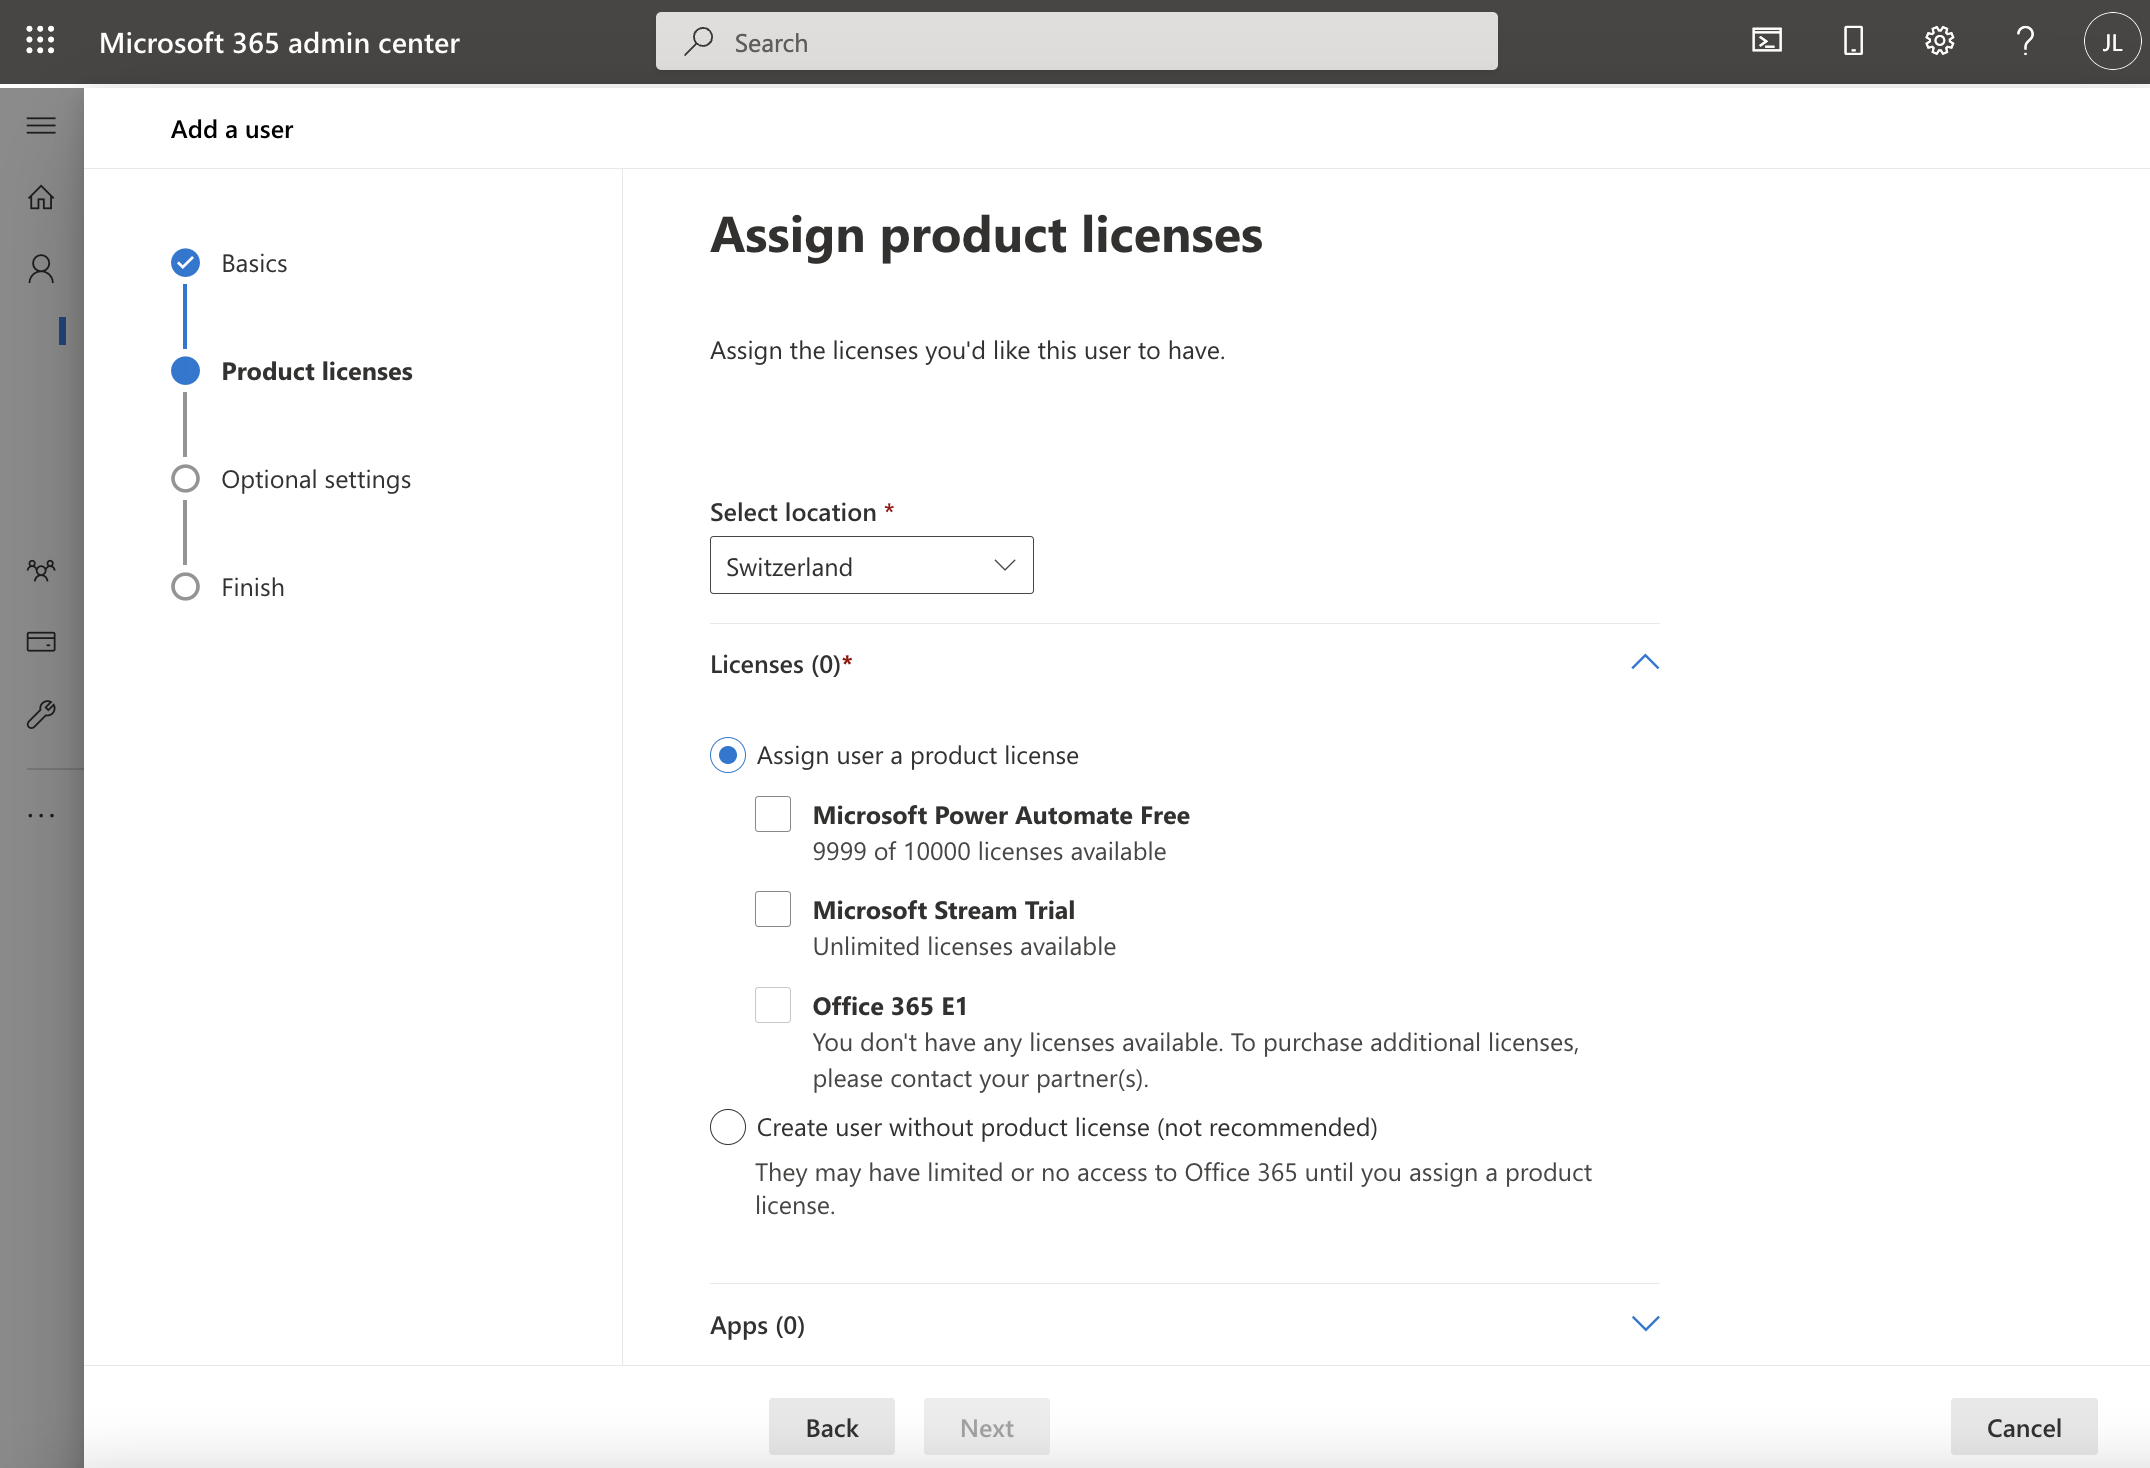
Select product licenses if required
- ahead works without product licenses
- Further information about the user can be entered under "Profile info". ahead displays job title ("job profile"), department, telephone (business), mobile phone and email address.
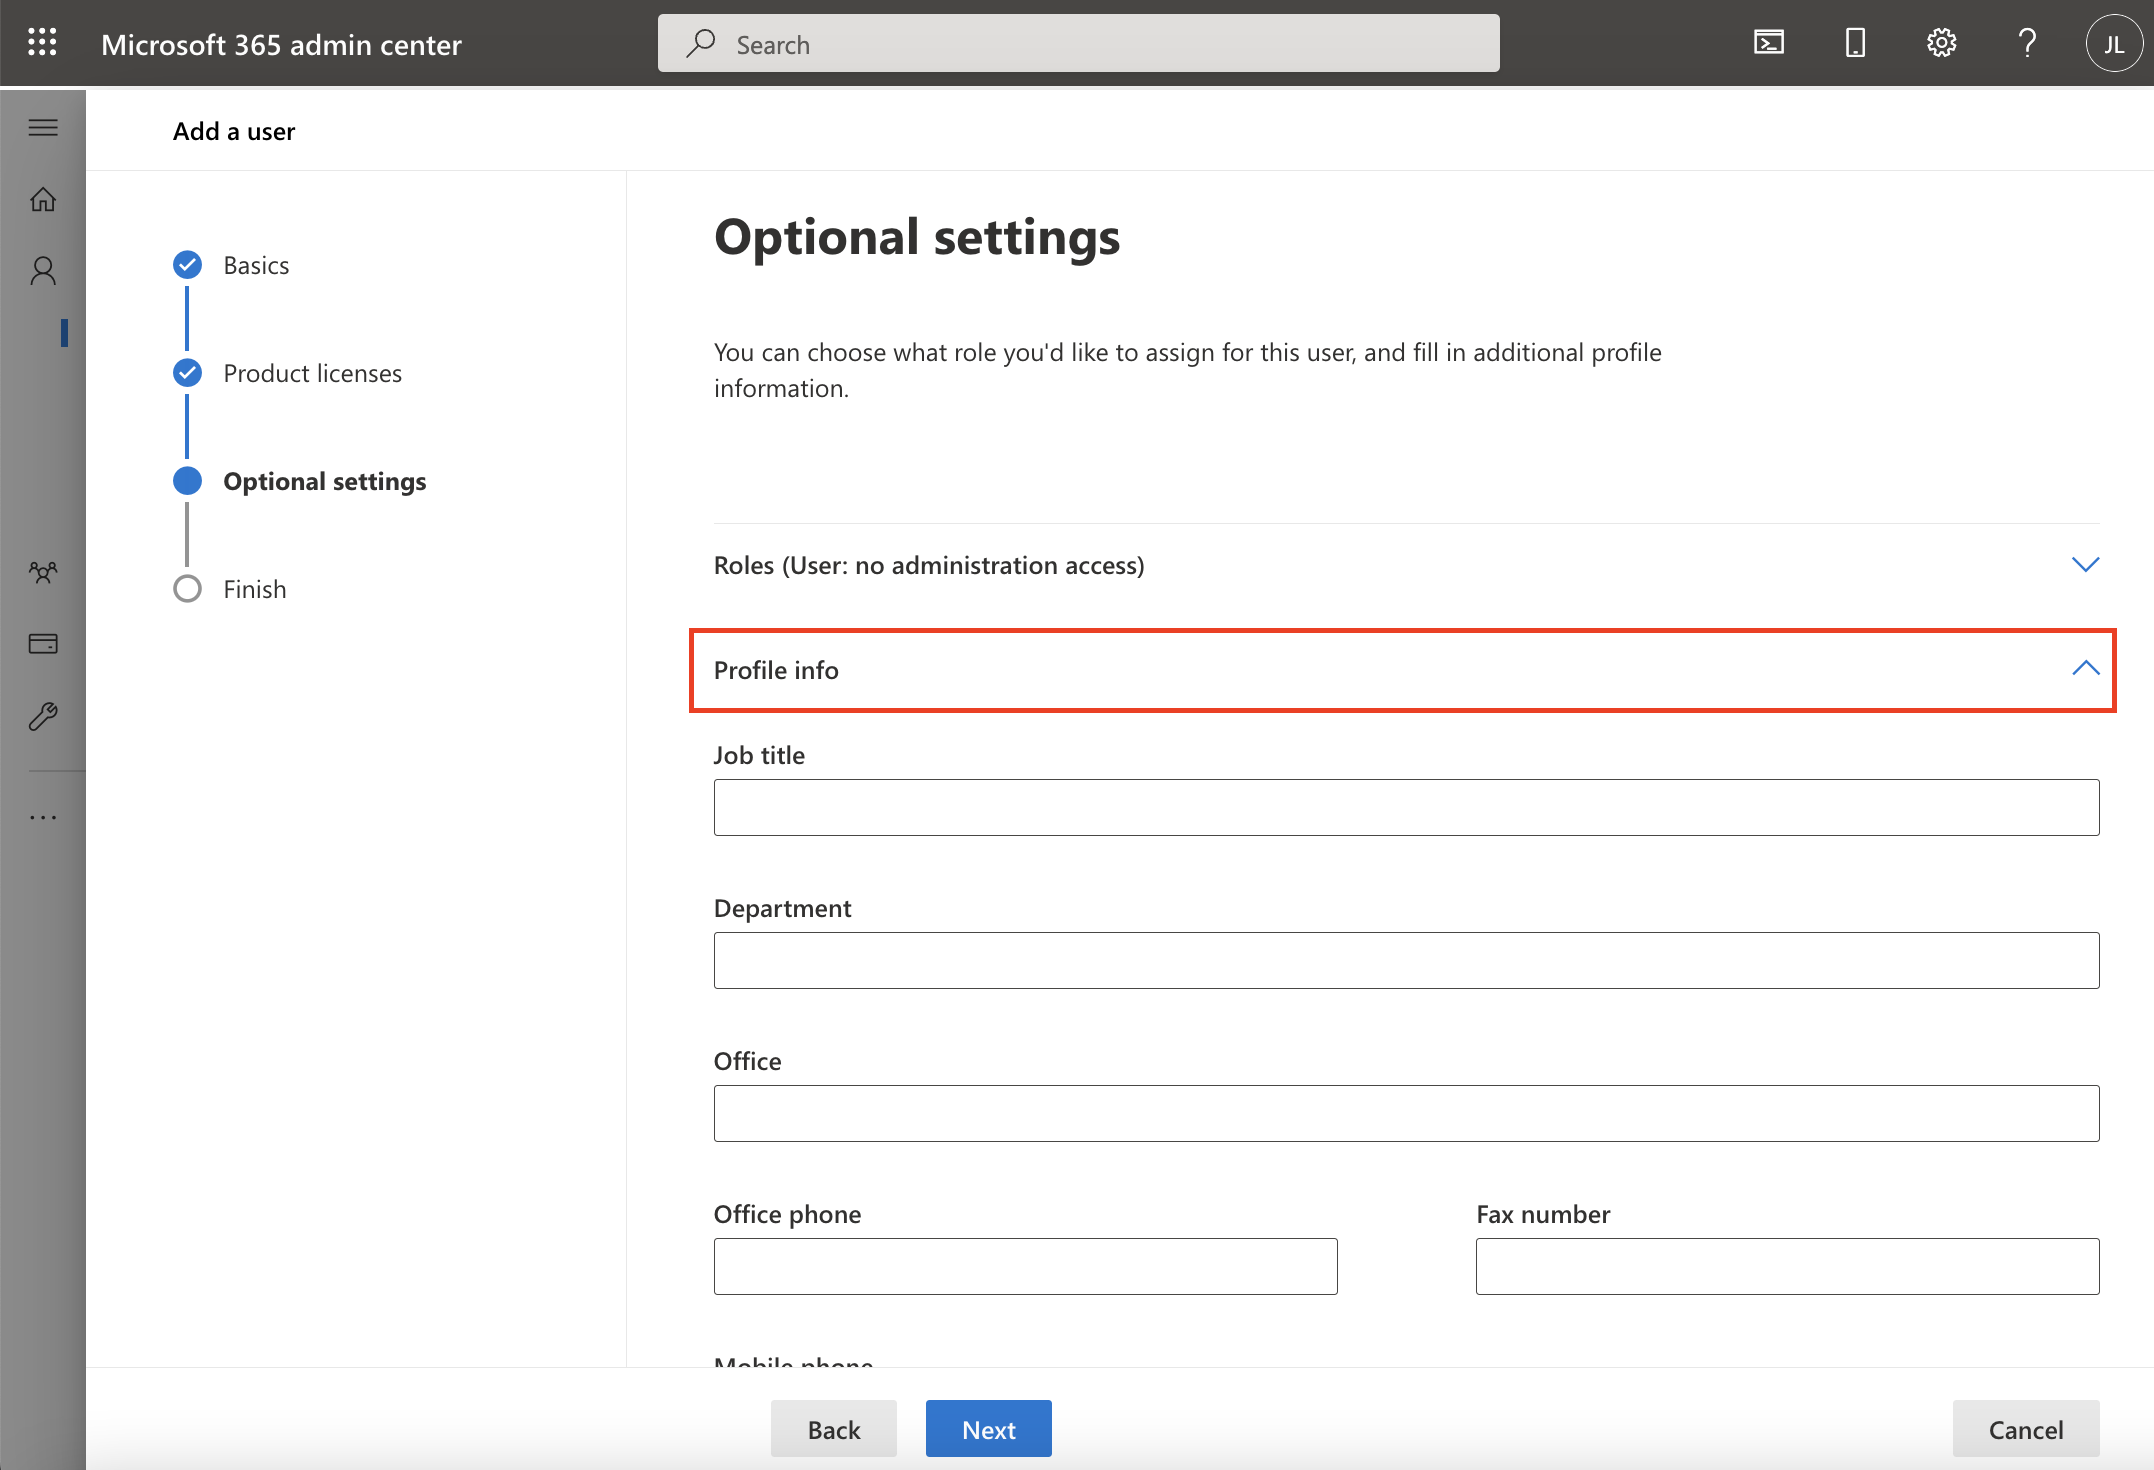
- Click "Next" and "Finish Adding"
- The new user has been created.
3. Giving users access to ahead
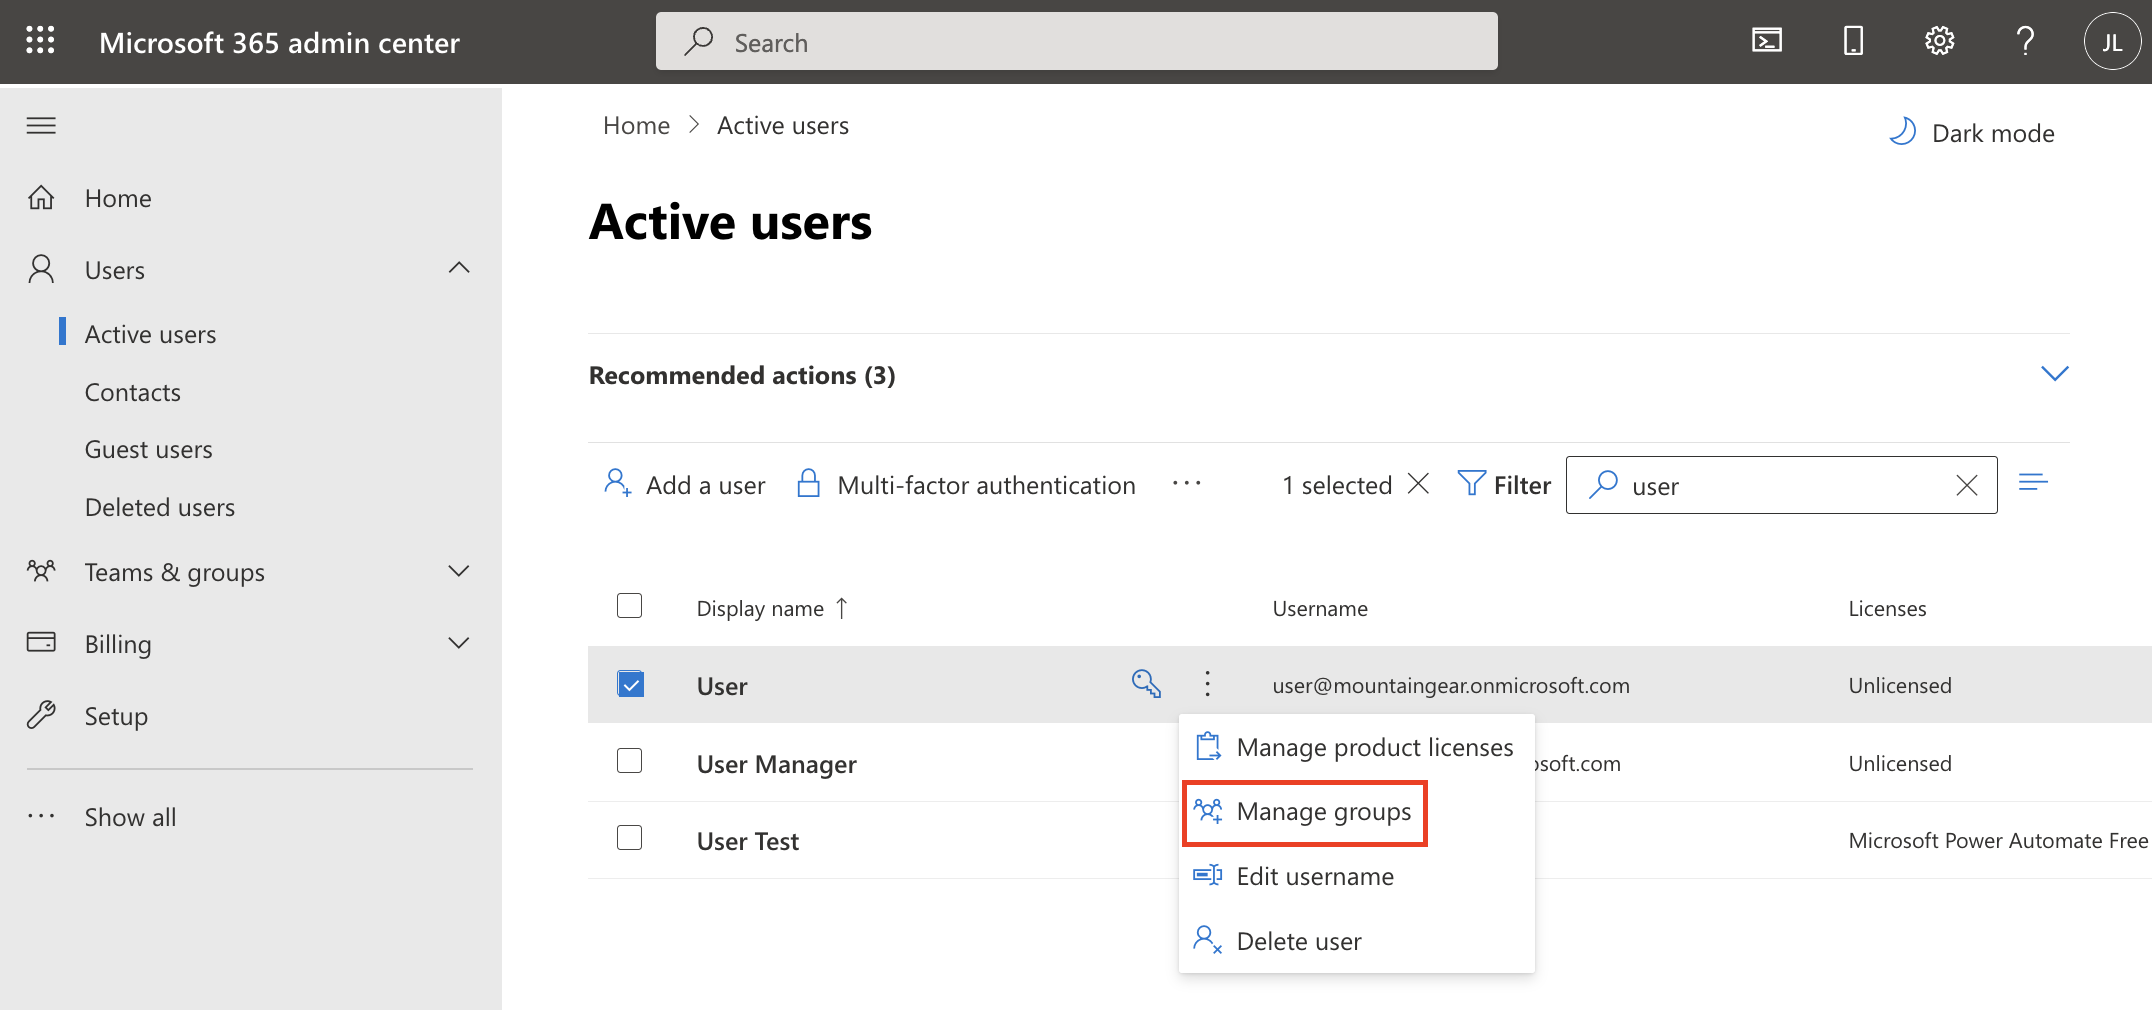
- Click on "User" -> "Active Users" and search for the user you just created.
- Right click on "Manage groups"
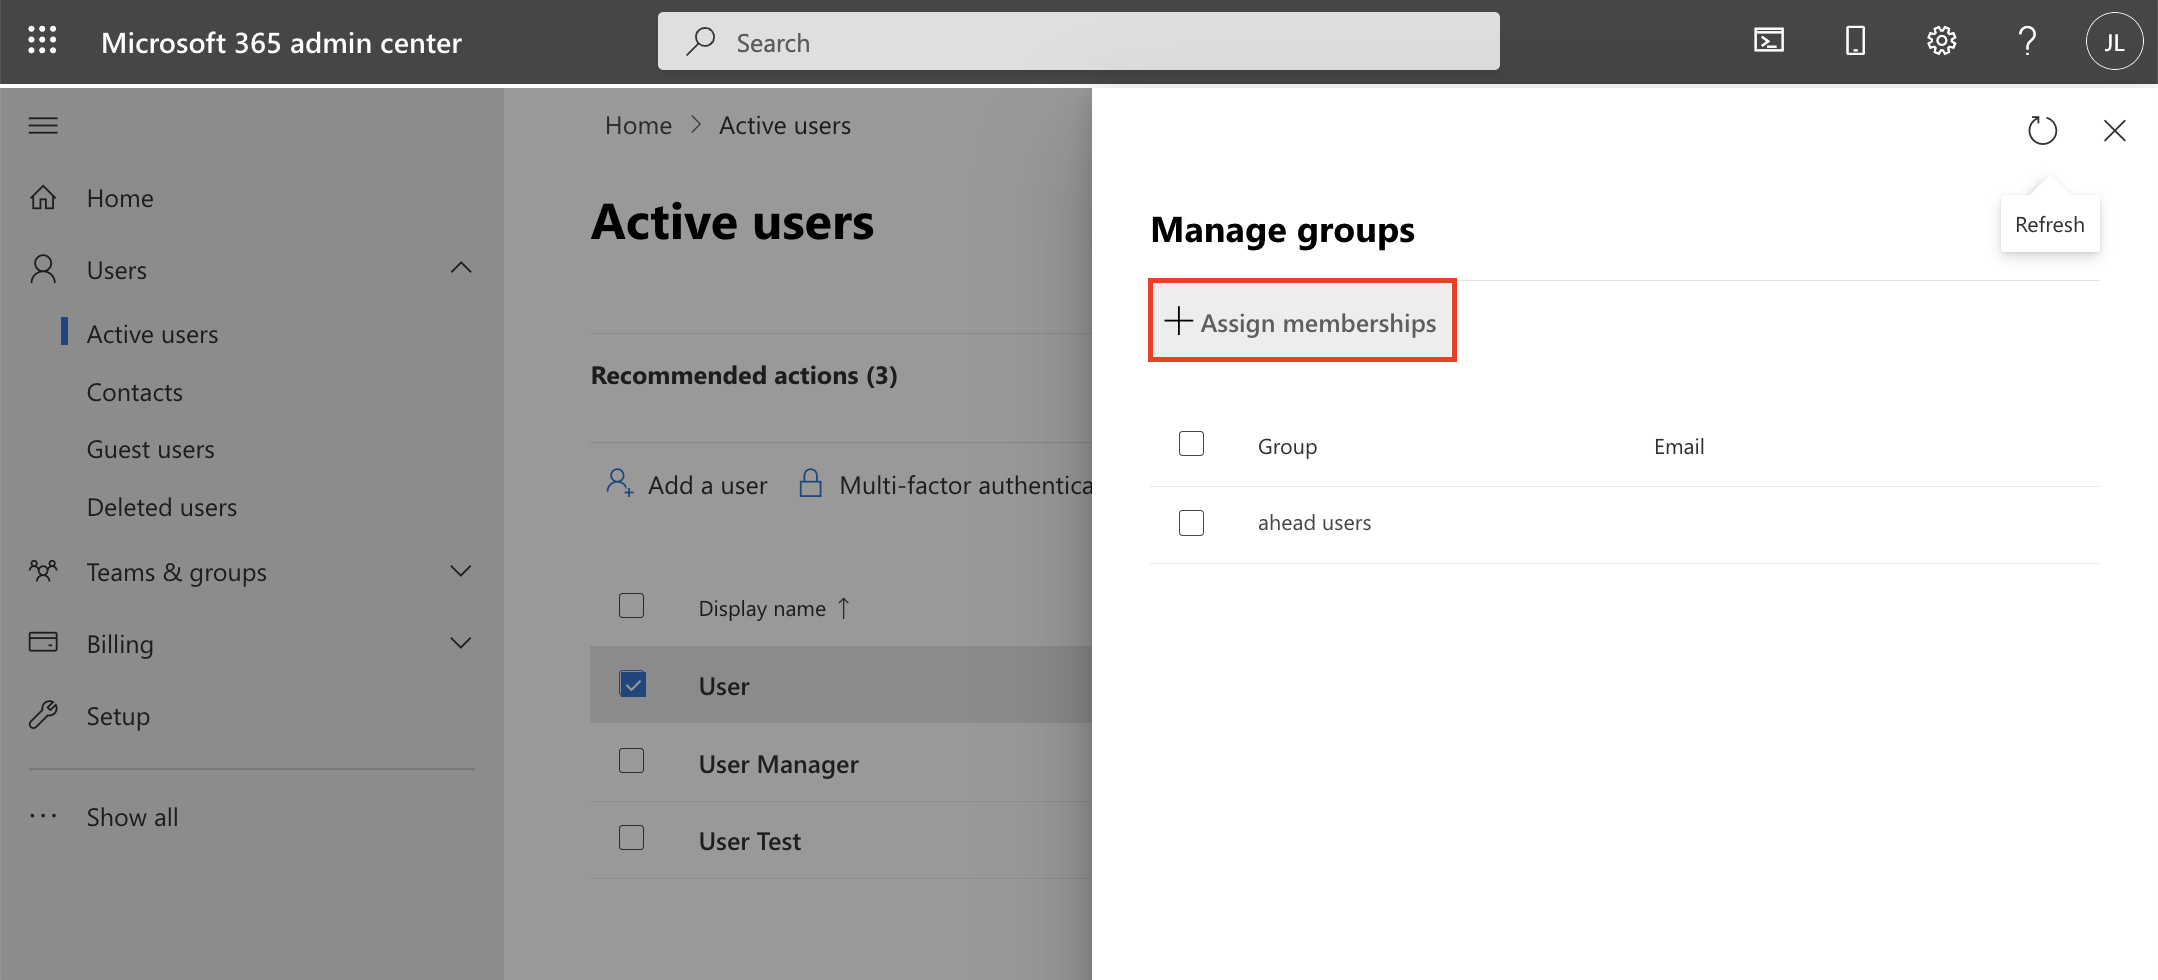
- Click on "Assign memberships"
- Search for "ahead" to narrow down the search results. Select ahead users, ahead editors or ahead admins depending on the role the user should have. The naming of the groups can be slightly different depending on what has been selected as the name for the ahead permission groups in Azure Active Directory.
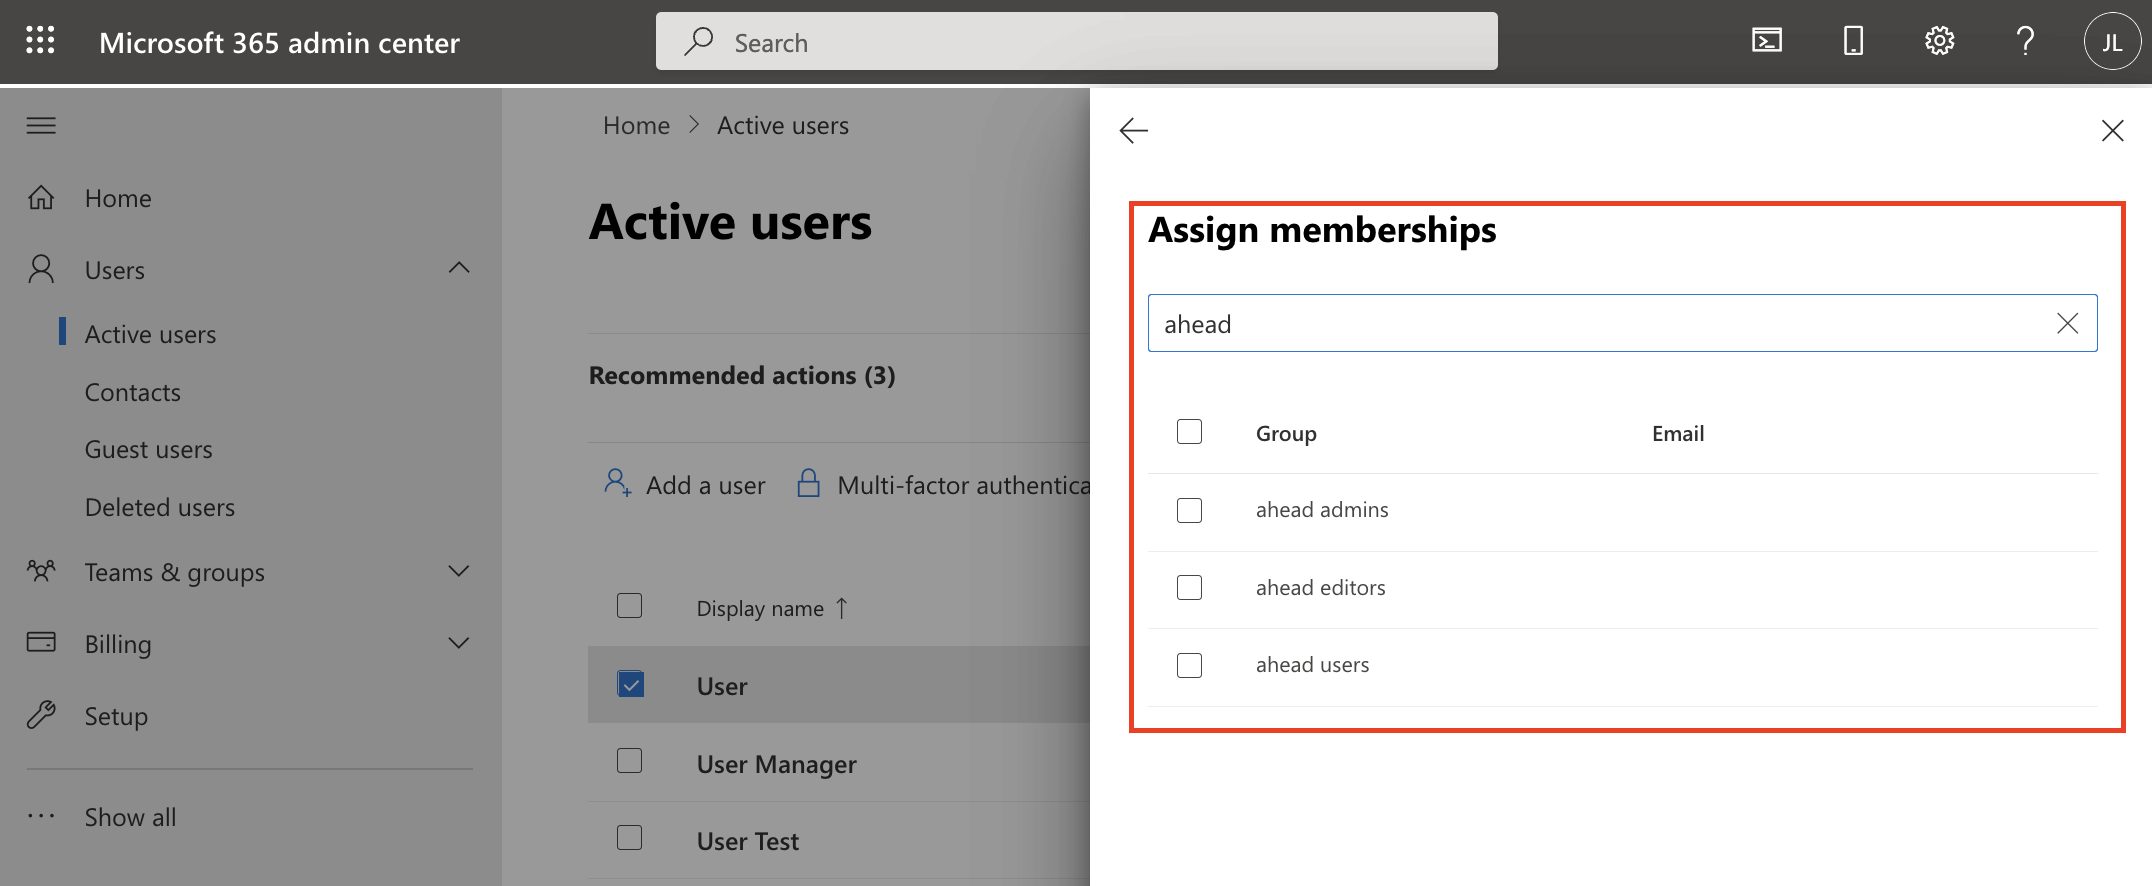
- By clicking on "Add", the user is granted access to ahead.
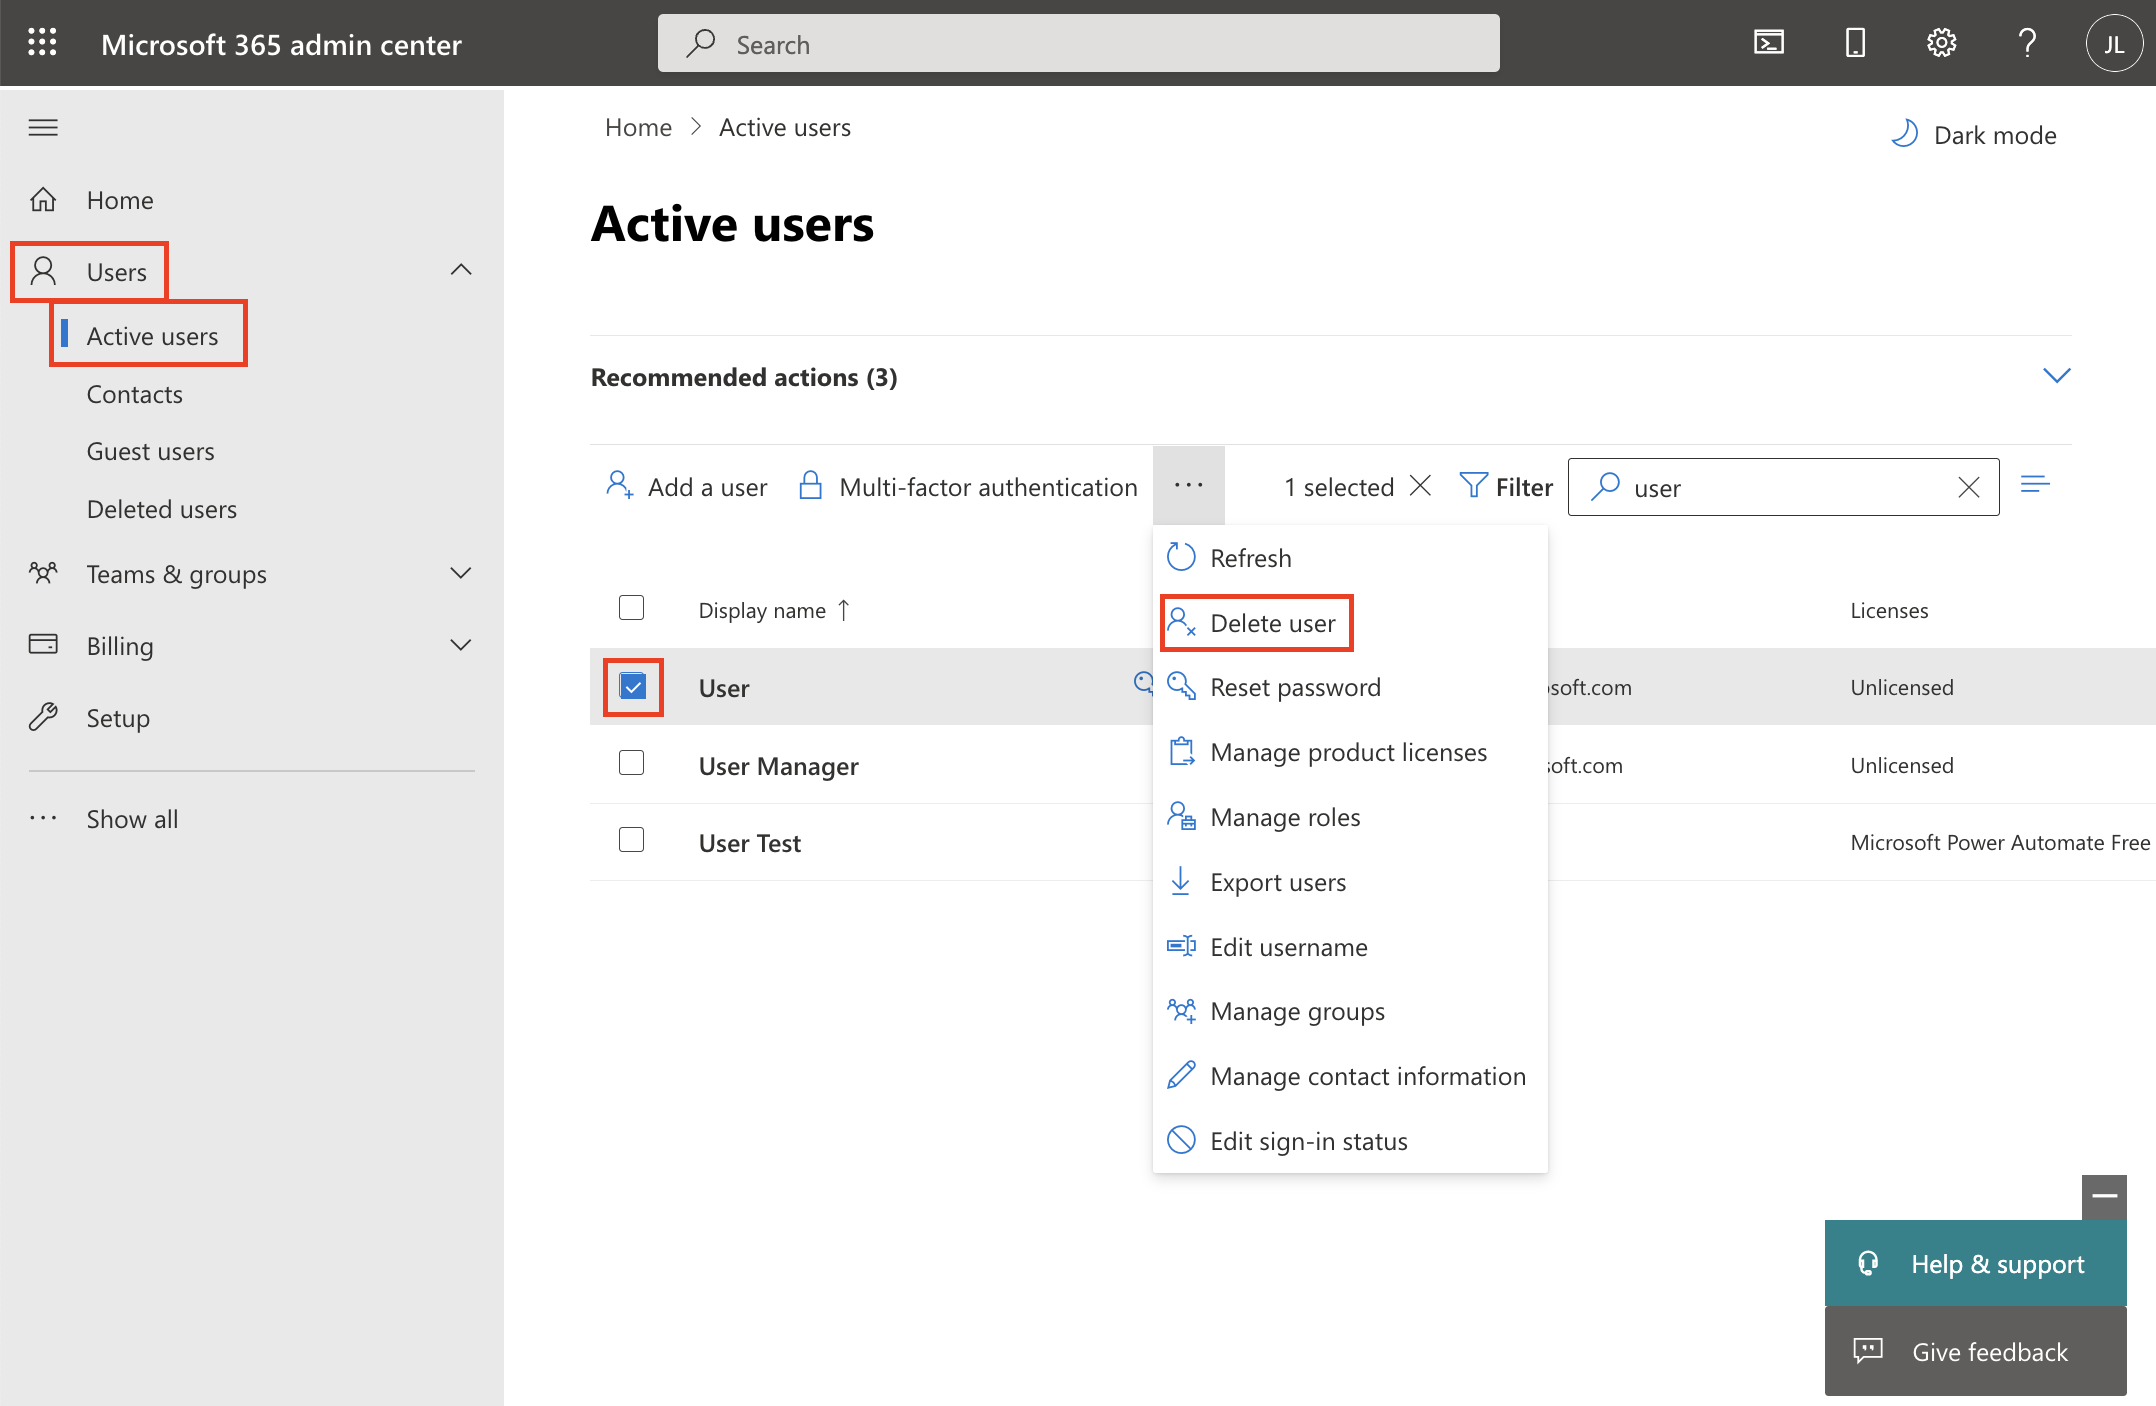
4. Deleting users
- Click on "User" -> "Active users" and search for the user to be deleted
- Select the user by clicking the checkbox
- Right click on "Delete user"