Add ahead to your Office 365 App Launcher
You can quickly and easily get your custom tile for the ahead app using the Office 365 app launcher.
Important: You must be a global admin in Office 365 to set this up.
Create an ahead custom tile
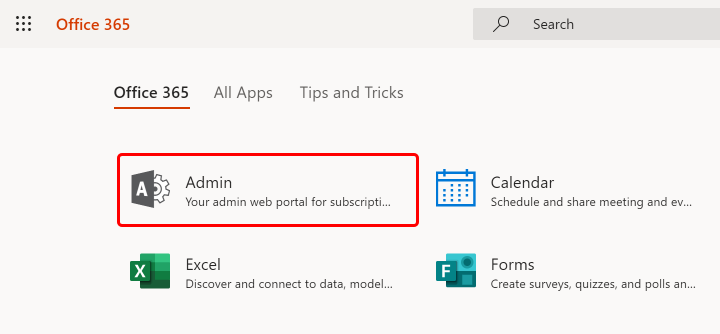
1. Go to the Admin Center.
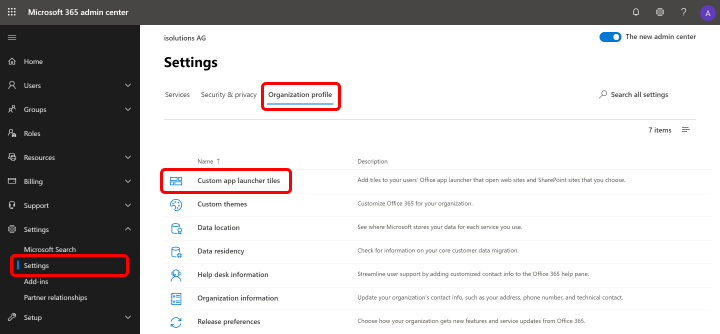
2. Then, go to Settings > Organization profile tab. From there, go to Custom app launcher tiles and select Add a custom tile.
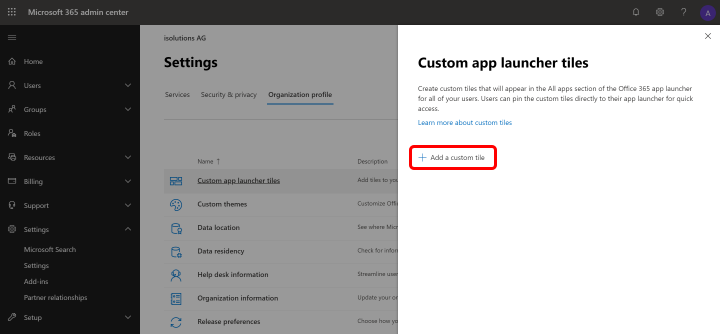
3. Enter ahead in the Tile name for the new tile.
4. Enter a URL for the tile. This is the location which you want your users to go to when they select the tile on the app launcher.
Use https://app.aheadintranet.com/.
5. Enter an Image URL for the tile. The image will appear on the My Apps page and app launcher. You can use the ahead logo by copying this URL https://www.aheadintranet.com/assets/img/blue_250X250.png and pasting it in the URL of tile image field.
Note: You can use any other image as long as it’s 60x60 pixels and available to everyone in the organization without requiring authentication.
6. Enter a Description. You see this when you select the tile on the
My Apps page and select App details.
7. Select Save to create the custom tile.
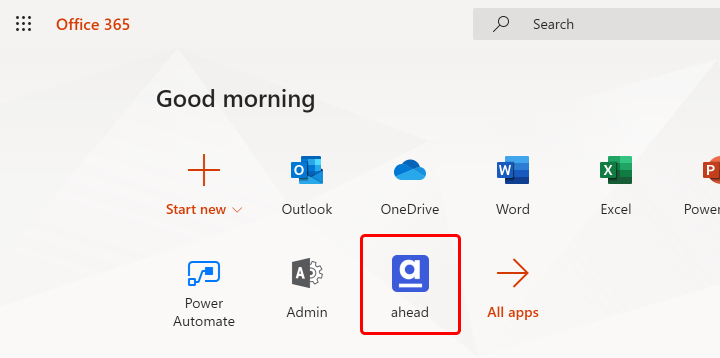
Done! Your custom ahead tile now appears in the app launcher on the All tab for you and your users.
Pin ahead to app launcher
Now you can pin ahead to the app launcher to have an even faster access. Go to All apps, locate the new ahead tile, select the three dots and choose Pin to launcher.
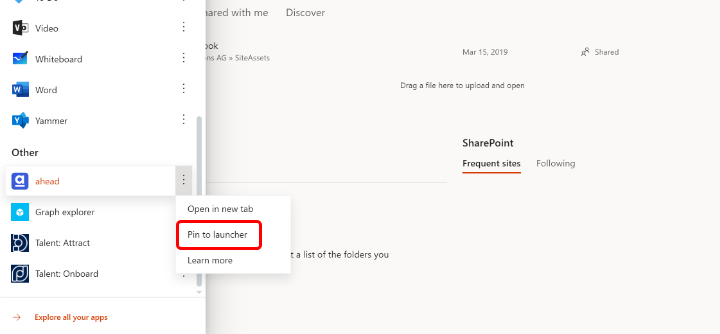
This change is only applied to you, which means that now, you can instruct your users to perform this steps to promote the ahead tile to their app launcher.
Note: This change might take some time to sync.